Akupanels—also known as wood slat acoustic panels—have become a popular solution for improving interior acoustics while adding a modern, architectural aesthetic. Whether used in offices, homes, hotels, or commercial spaces, proper installation is key to achieving both acoustic performance and visual precision.
In this step-by-step guide, Leedings explains how to install Akupanels on walls correctly, based on real project experience and best installation practices.
What Are Akupanels?
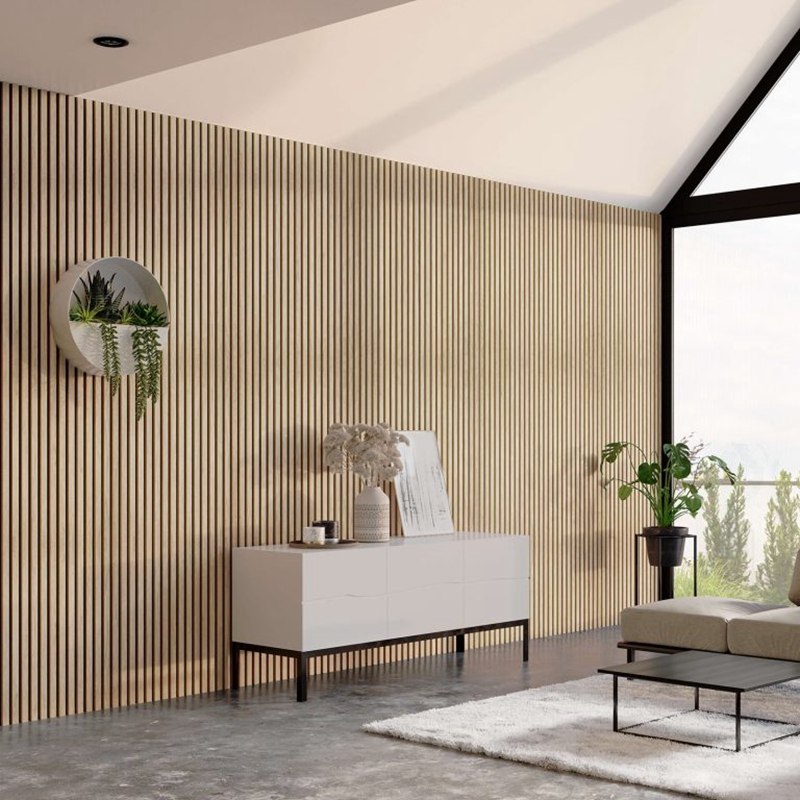
Akupanels consist of wood veneer or MDF slats mounted on a PET acoustic felt backing. This structure allows sound waves to pass through the slats and be absorbed by the polyester felt, reducing echo and improving speech clarity.
They are widely used in:
Offices and meeting rooms
Restaurants and cafés
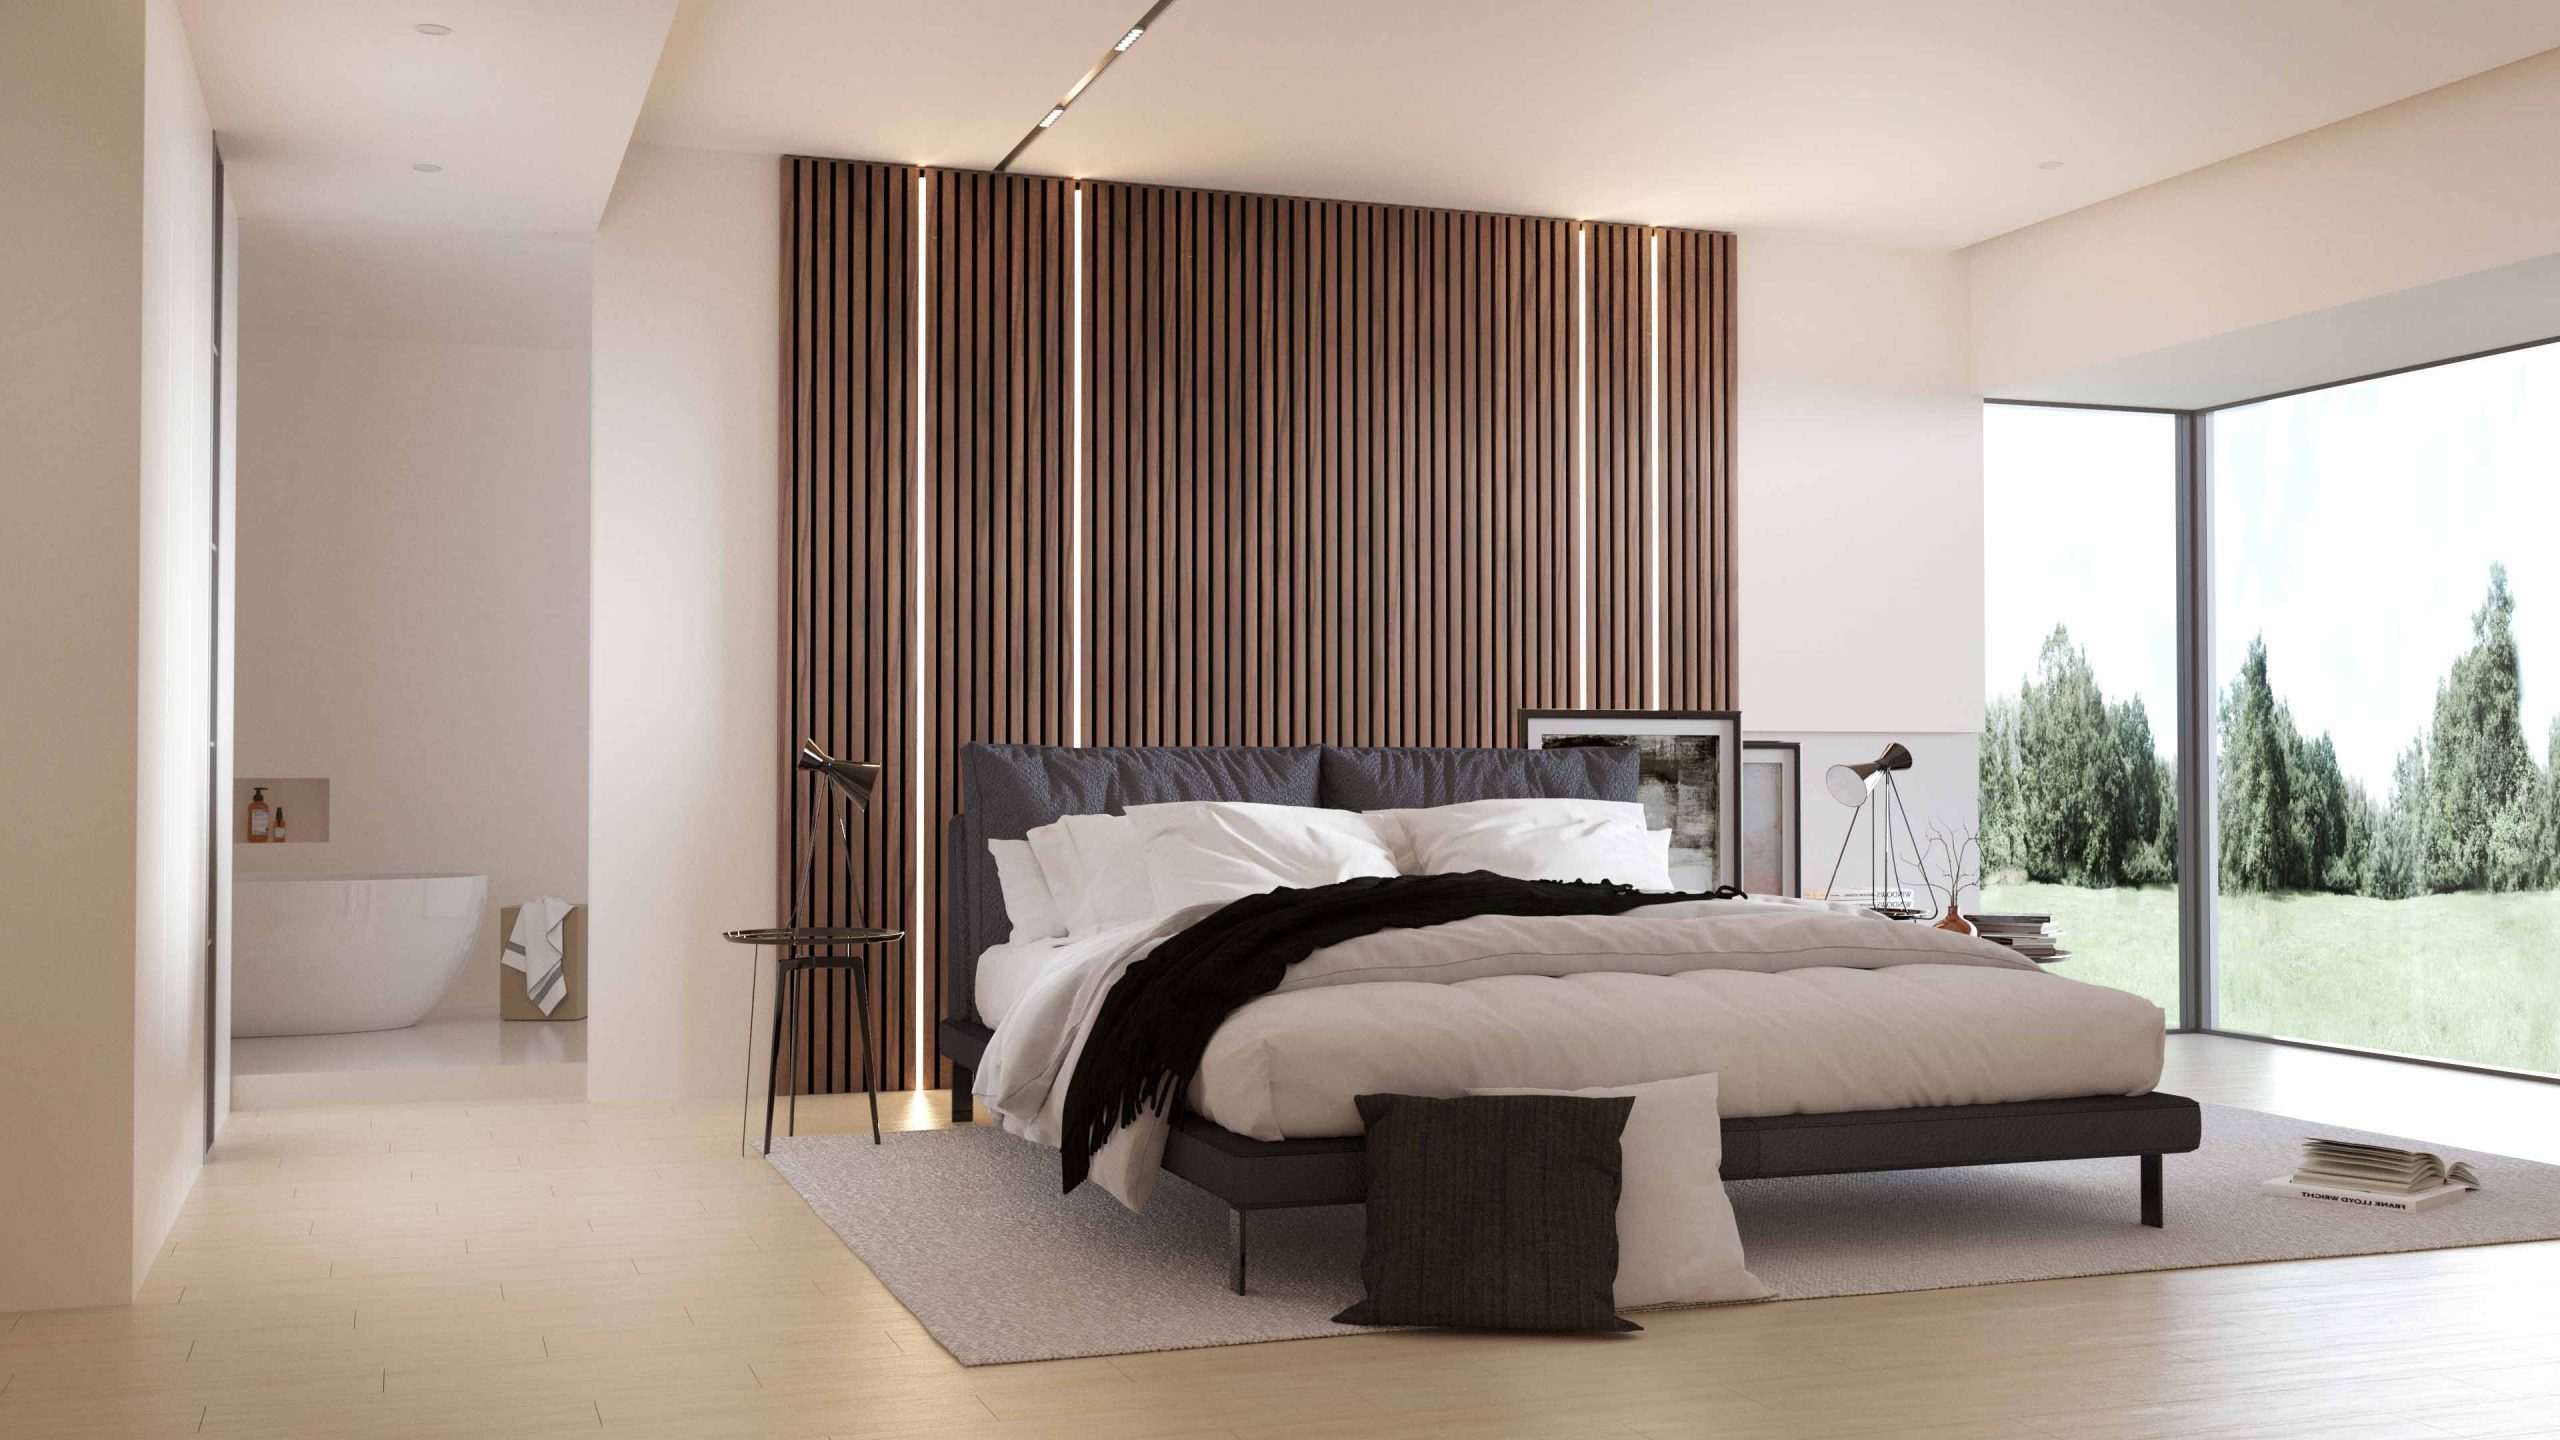
Hotels and reception areas
Residential living rooms and home studios
Tools and Materials You’ll Need
Before installation, prepare the following:
Akupanels (wood slat acoustic panels)
Measuring tape and level
Pencil or chalk line
Construction-grade adhesive or screws
Drill and screwdriver (if using screws)
Utility knife or saw (for trimming)
Cleaning cloth
Step 1: Prepare the Wall Surface
Ensure the wall is:
Clean and dry
Free of dust, oil, or loose paint
Structurally sound
For uneven walls, minor surface leveling is recommended to ensure the Akupanels sit flush and aligned.
Step 2: Measure and Plan the Layout
Measure the wall height and width carefully
Decide whether panels will be installed vertically or horizontally
Mark reference lines using a level to ensure straight installation
💡 Tip: Dry-fit one panel before final installation to confirm alignment and spacing.
Step 3: Choose the Installation Method
Option 1: Adhesive Mounting (Most Common)
Apply construction adhesive evenly to the back of the PET felt
Suitable for smooth, solid walls
Faster and leaves no visible fixings
Option 2: Screw Mounting (Extra Security)
Recommended for large panels or high-traffic commercial areas
Screws are typically fixed through the felt backing
Can be combined with adhesive for added strength
Step 4: Install the First Akupanel
Start from one corner of the wall
Press the panel firmly into place
Use a level to ensure it is perfectly straight
Hold or temporarily support until adhesive bonds
The first panel is critical—take your time to get it right.
Step 5: Install Remaining Panels
Continue panel by panel, keeping slat alignment consistent
Maintain a small expansion gap if required by the environment
Check alignment regularly to avoid cumulative errors
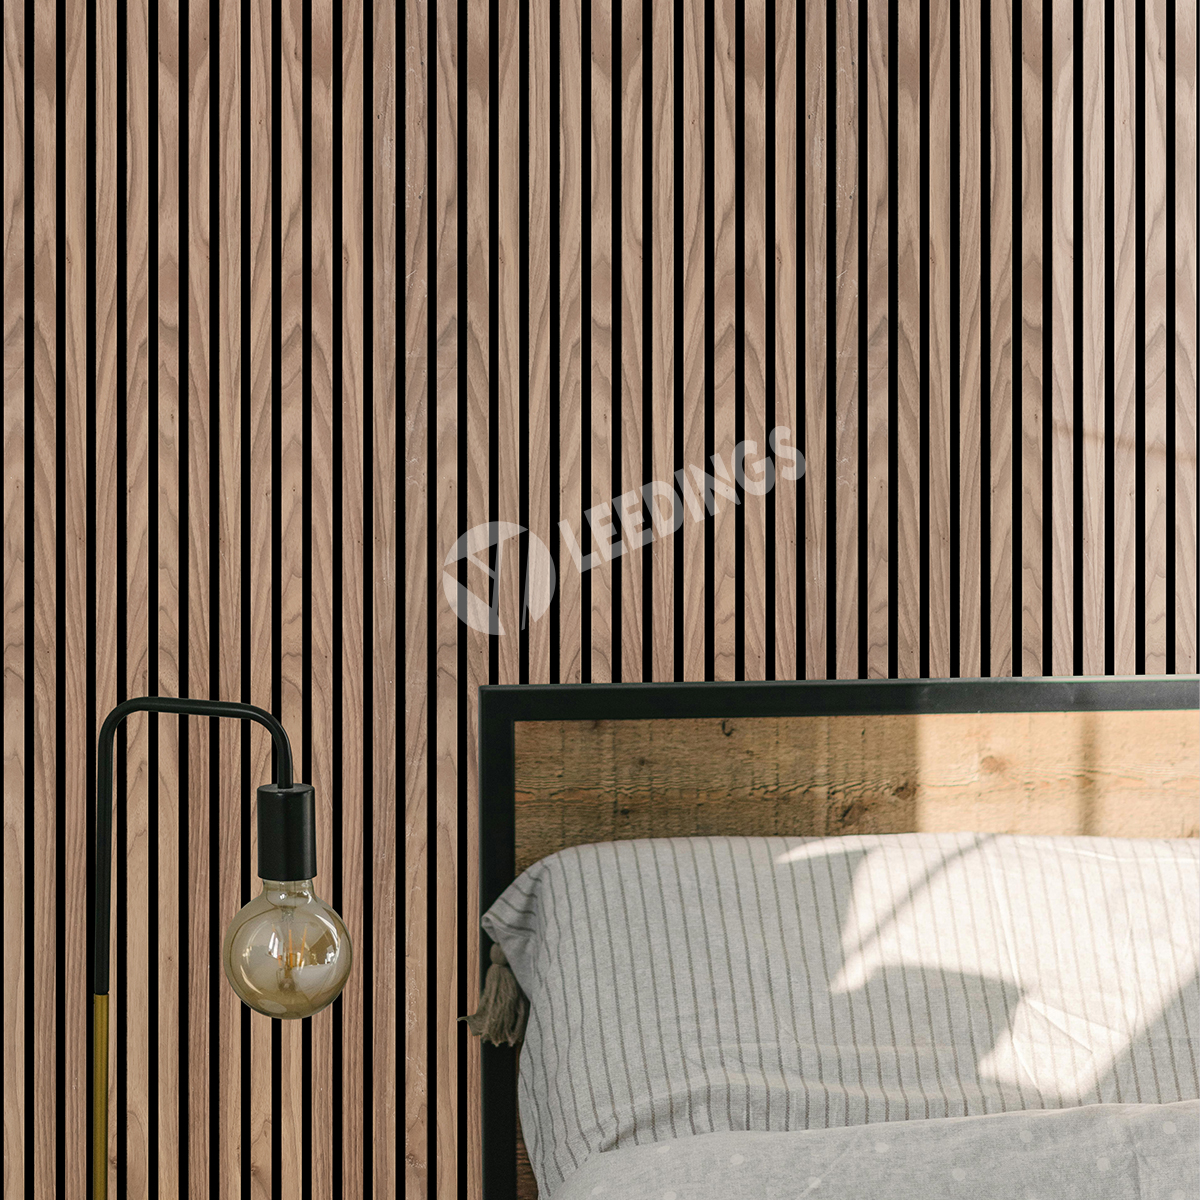
Akupanels are designed to create a seamless visual rhythm when installed correctly.
Step 6: Cutting and Finishing
Trim panels using a fine-tooth saw or utility knife
Cut from the back (felt side) to protect the wood slats
Clean any adhesive residue immediately
Optional edge trims or shadow gaps can enhance the final look.
Optional: Improve Acoustic Performance
For better sound absorption:
Install panels with a small air gap between the wall and panel
Combine Akupanels with additional PET acoustic panels behind them
Adjust slat spacing and panel coverage based on room size
Common Installation Mistakes to Avoid
Skipping wall preparation
Installing without a level
Using low-quality adhesive
Cutting from the front, damaging the veneer
Correct installation ensures long-term durability and optimal acoustic results.
Why Choose Leedings Akupanels?
Leedings Akupanels are engineered for easy installation, consistent quality, and reliable acoustic performance. Our products are manufactured using precision equipment and tested to meet international standards for safety, durability, and indoor air quality.
With extensive project experience across residential and commercial spaces, Leedings provides not just products—but dependable acoustic solutions.
Final Thoughts
Installing Akupanels on walls is a straightforward process when done correctly. With proper planning, the right tools, and attention to detail, Akupanels can transform any space into a quieter, more comfortable, and visually refined environment.
If you need technical support or installation recommendations for your specific project, the Leedings team is always ready to assist.