
Introduction
Installing acoustic panels is one of the most effective ways to improve sound quality and reduce noise in any space. But depending on your wall material — glass, concrete, or drywall — the installation process can vary significantly.
In this guide, we’ll show you the best methods to install acoustic panels securely and cleanly on different surfaces, ensuring maximum performance and aesthetic appeal.
1. Before You Begin: Preparation Matters
No matter the surface, preparation is key to a successful installation.
You’ll need:
Measuring tape & level
Pencil or chalk
Adhesive (construction-grade glue, spray adhesive, or double-sided tape)
Mounting hardware (if required)
Clean cloth
Steps:
Clean the surface thoroughly — remove dust, oil, or debris.
Plan the panel layout and mark positions with a pencil.
Test-fit panels before applying any adhesive.
2. How to Install Acoustic Panels on Glass
Glass surfaces are smooth and non-porous, meaning traditional glues don’t adhere well. To avoid damage and ensure strong bonding:
Recommended Methods:
Double-sided adhesive tape (removable type):
Ideal for lightweight PET acoustic panels.
Choose high-strength transparent nano tape or 3M VHB tape.
Apply evenly on the panel’s back and press firmly for 30 seconds.
Hook-and-loop fasteners (Velcro):
Perfect for temporary installations in offices or studios.
Allows repositioning without leaving marks.
Frame Mounting System:
For a permanent and decorative finish.
Panels are placed inside slim aluminum or wooden frames attached to the wall edges.
✅ Pro Tip: Avoid silicone sealants directly on glass, as removal can damage the surface.
3. How to Install Acoustic Panels on Concrete Walls
Concrete and brick are strong but uneven and porous, requiring heavy-duty adhesives or mechanical support.
Method 1: Construction Adhesive
Use a high-strength polyurethane or epoxy adhesive.
Apply a “Z” or “dot” pattern on the panel’s back.
Press the panel onto the wall and hold for 30–60 seconds.
Use temporary supports (like masking tape or pins) until cured.
Method 2: Mechanical Fasteners
Drill small holes in the concrete.
Use plastic anchors and screws with wide washers to hold the panel.
For thicker acoustic panels, screw heads can be hidden within the felt texture.
✅ Pro Tip: Avoid using too much adhesive — thick glue layers may create uneven contact and reduce sound absorption efficiency.
4. How to Install Acoustic Panels on Drywall
Drywall is the most common indoor wall material, making installation easy and flexible.
Option 1: Spray Adhesive (for light panels)
Use aerosol-based acoustic panel adhesive or 3M Super 77.
Spray evenly on both the panel and wall, wait 30 seconds, and press firmly.
Option 2: Construction Glue (for heavier panels)
Use liquid nail or silicone-based adhesive.
Apply in small dots across the back surface.
Align carefully before pressing down — most glues bond fast.
Option 3: Mounting Clips or Screws
Perfect for panels that may need to be removed later.
Attach clips to the wall, then snap the panels into place.
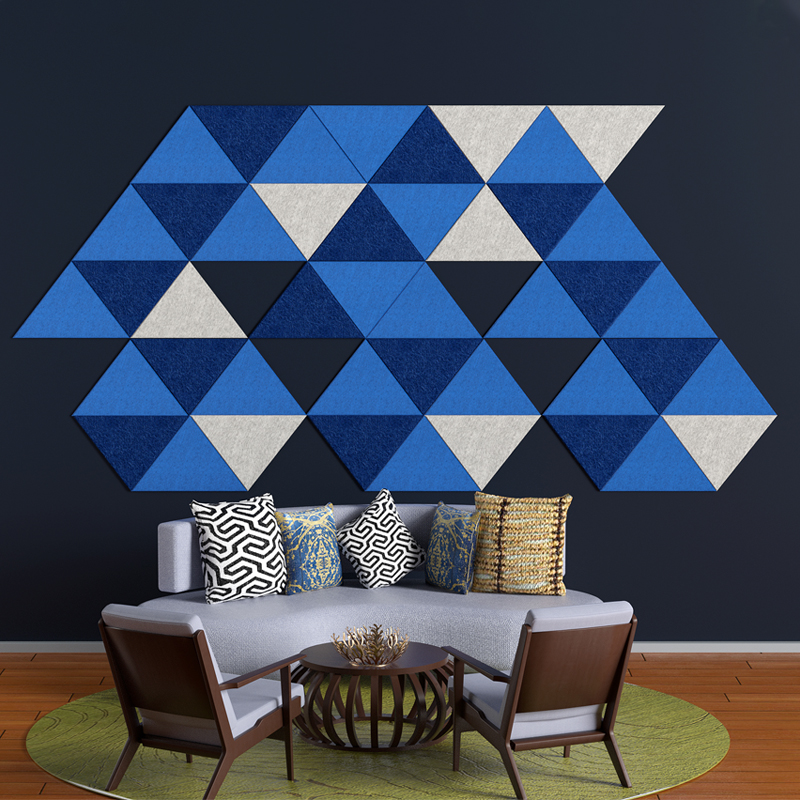
✅ Pro Tip: Always use a level to ensure panels align straight, especially for grid or pattern installations.
5. General Maintenance and Longevity Tips
Avoid installing on damp surfaces — moisture can weaken adhesion.
Clean panels gently using a soft cloth or vacuum.
For long-term performance, inspect glued areas every few months.
When removing, heat adhesives slightly with a hairdryer for easier detachment.
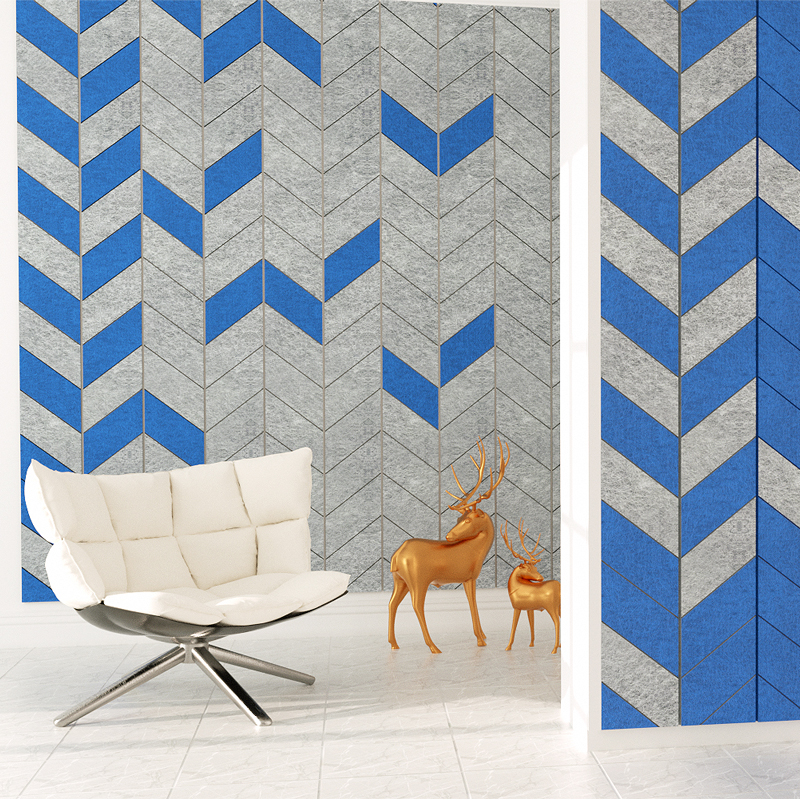
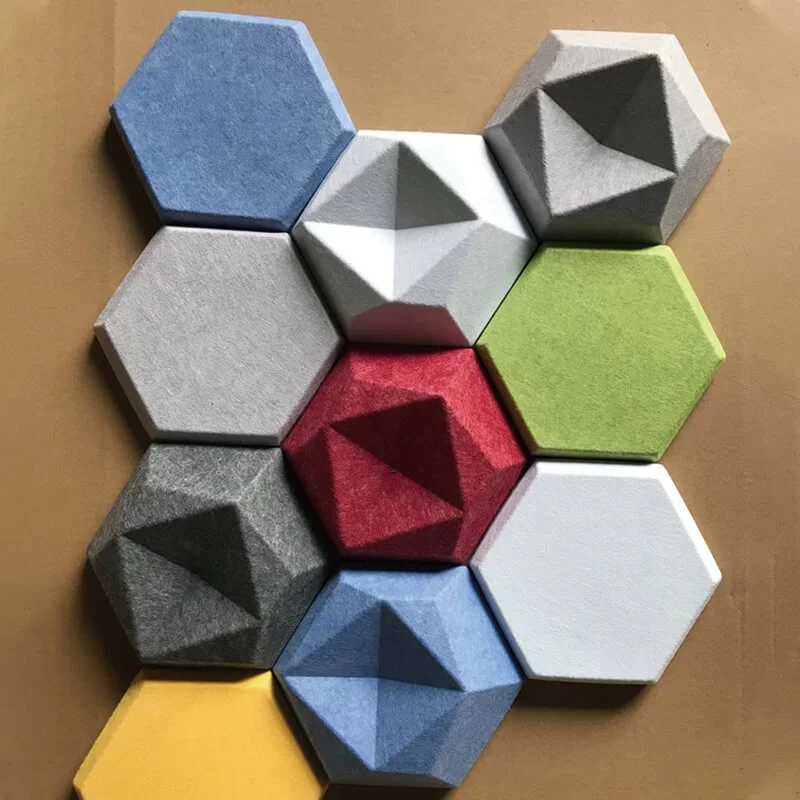
6. Why Choose Leedings PET Acoustic Panels
At Leedings, our PET acoustic panels are lightweight, formaldehyde-free, and easy to install on any surface — including glass, concrete, and drywall.
Features include:
✅ High sound absorption (NRC up to 0.9)
✅ Eco-friendly recycled polyester material
✅ Excellent flame retardancy and durability
✅ Available in multiple colors and thicknesses
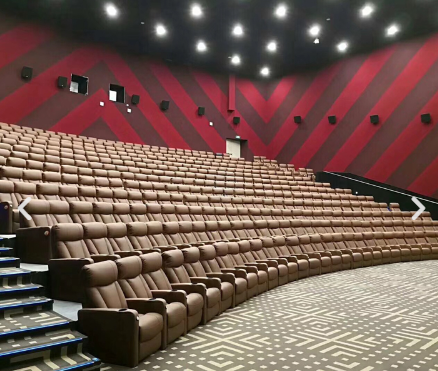
Whether you’re designing an open office, a recording studio, or a restaurant, Leedings panels make acoustic design simple, stylish, and sustainable.
Conclusion
Installing acoustic panels on different surfaces doesn’t have to be complicated — it just requires the right method for the material.
By following the techniques above, you’ll ensure your PET acoustic panels perform beautifully and last for years to come.
👉 Discover more acoustic solutions at Leedings.com — your trusted acoustic panel manufacturer for professional and eco-friendly sound absorption systems.