
Introduction
When installing PET acoustic panels, achieving clean, precise cuts is key to a professional-looking finish. Whether you’re fitting panels around outlets, trimming edges, or creating custom designs, using the right cutting tools and methods makes all the difference.
In this guide, we’ll walk you through how to cut PET acoustic panels cleanly and safely, including tool recommendations, preparation tips, and expert techniques.
1. Understanding the Material
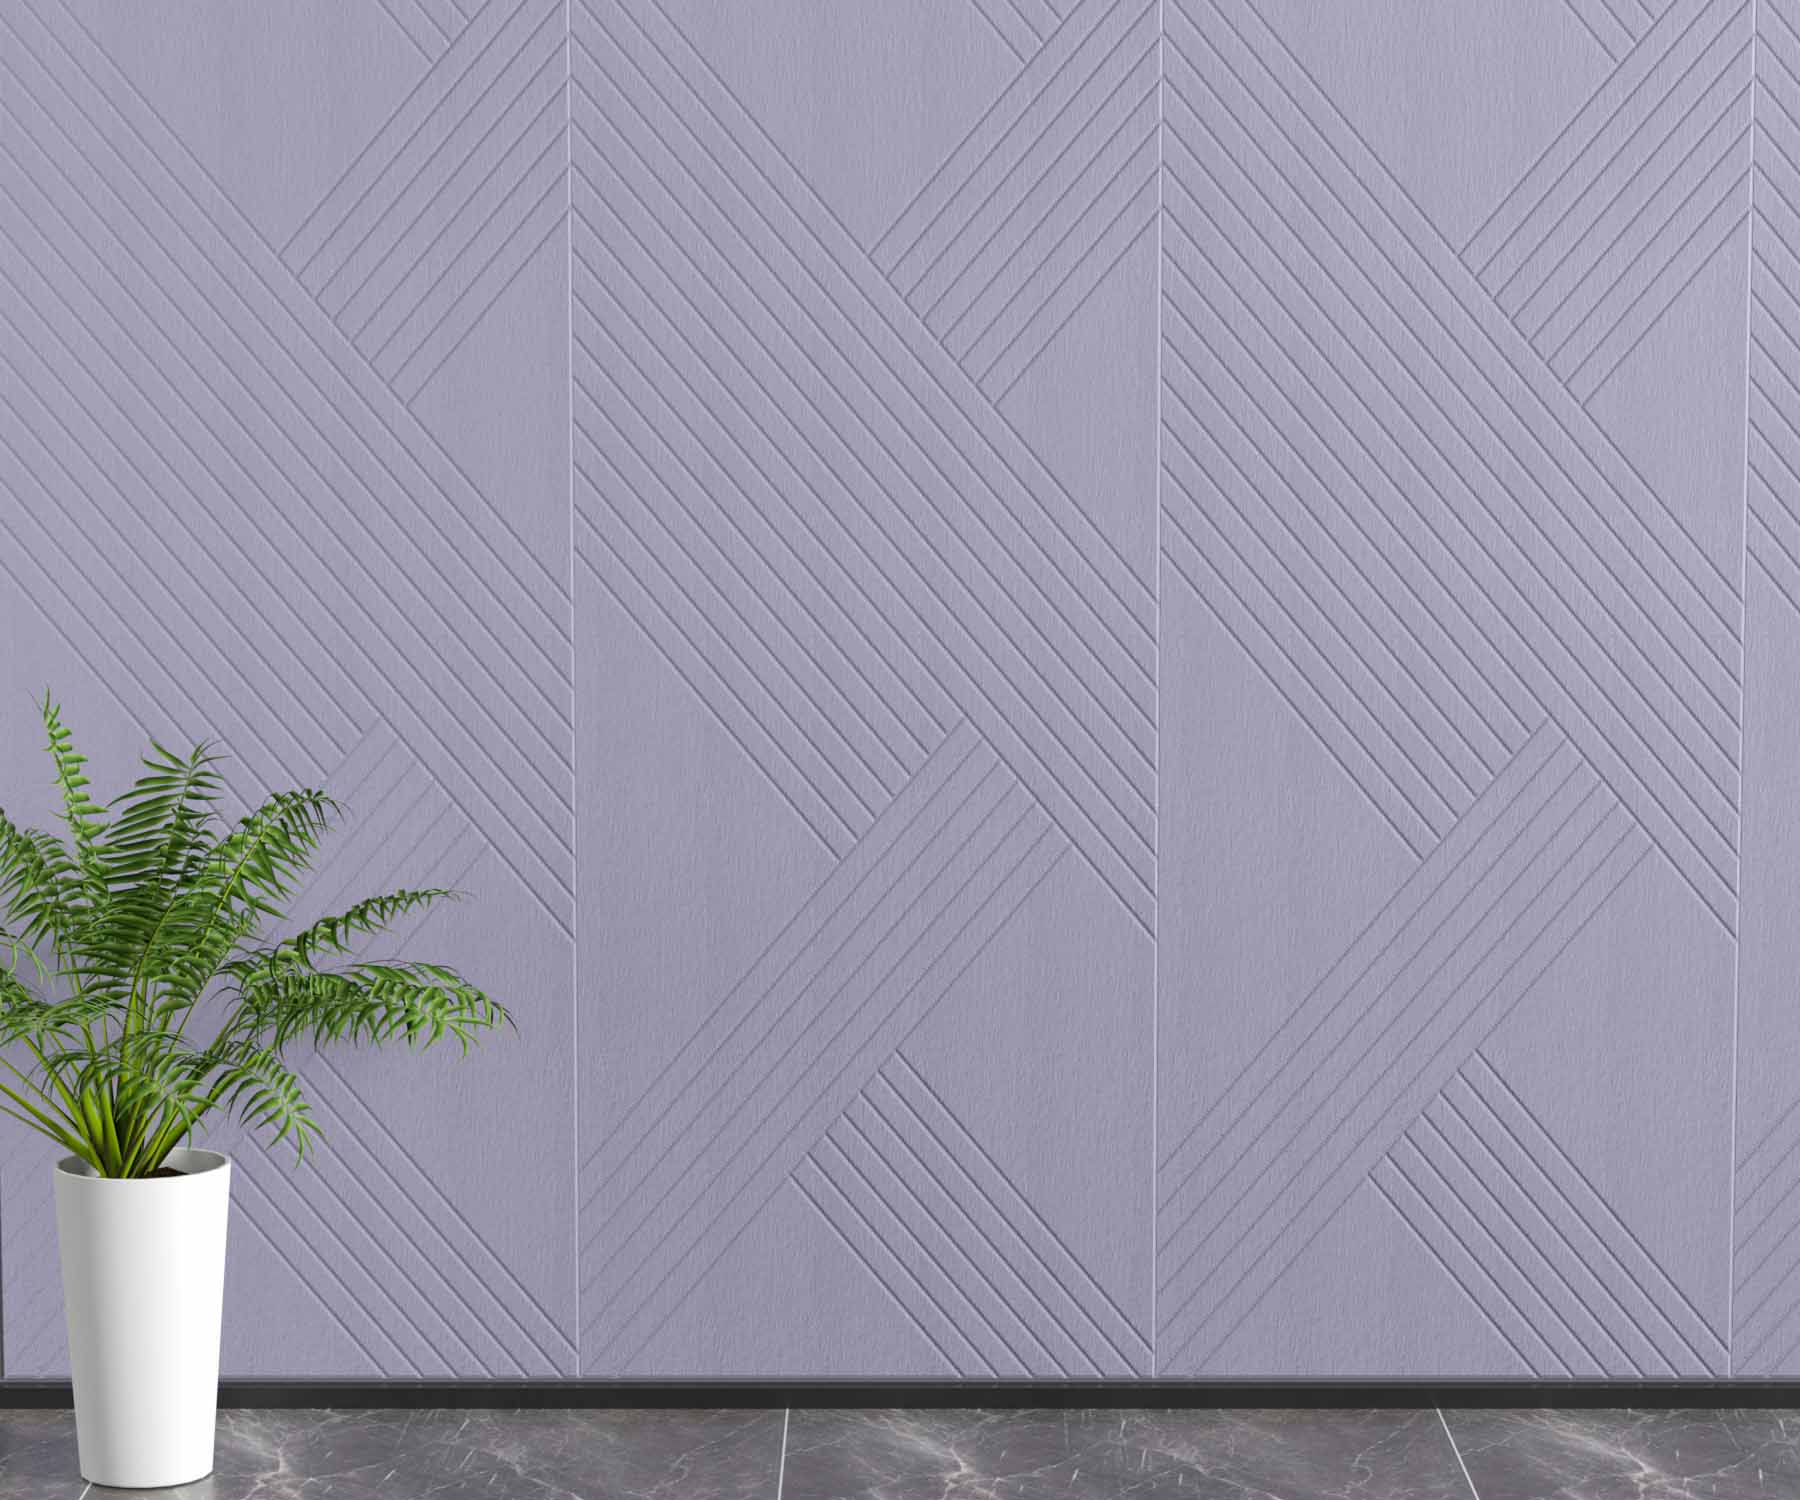
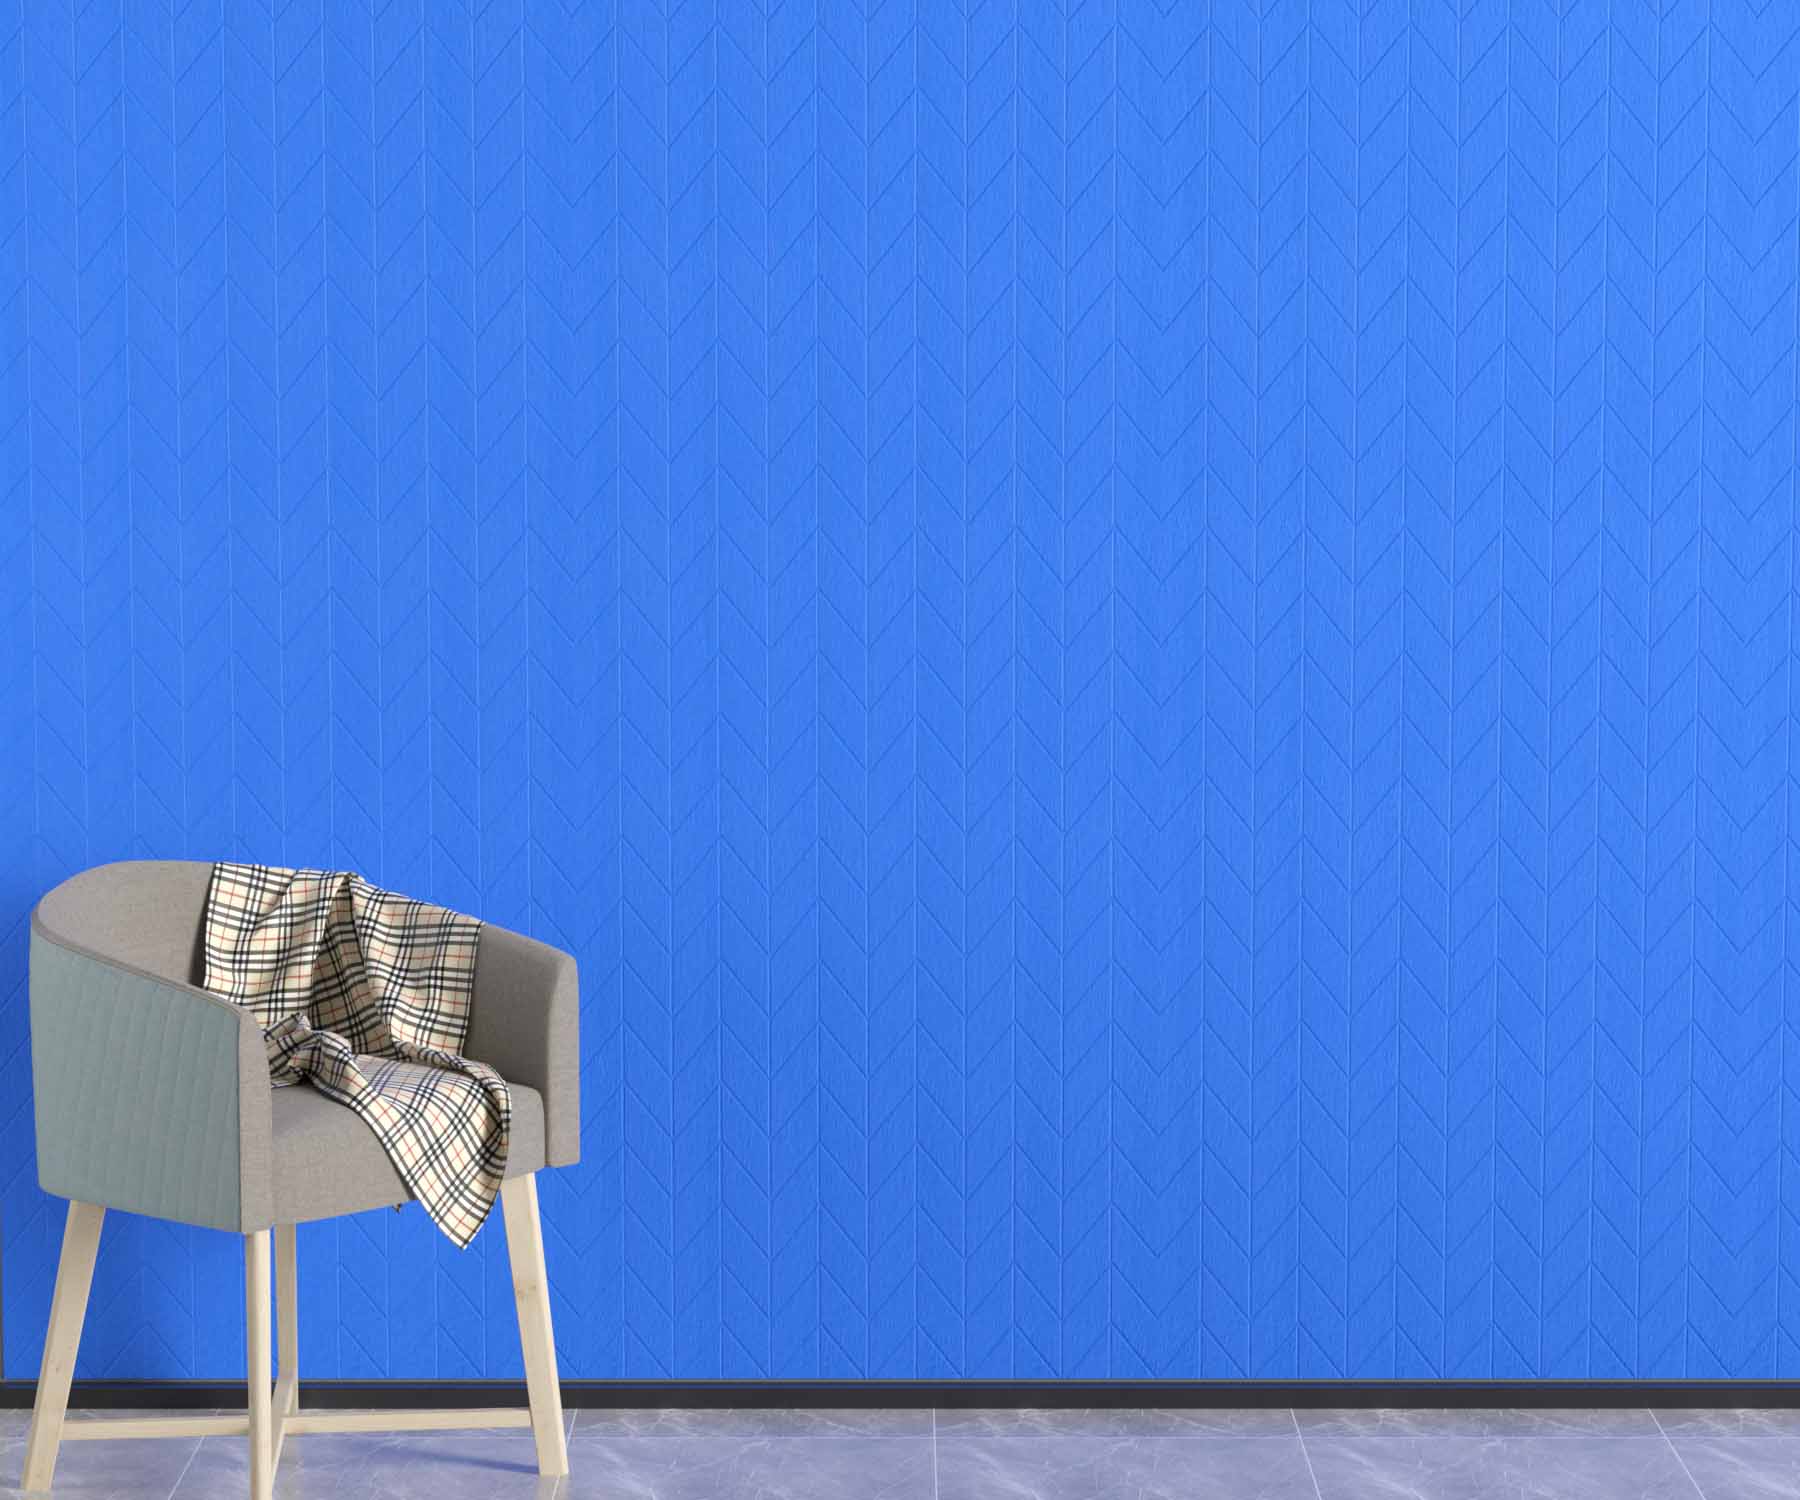
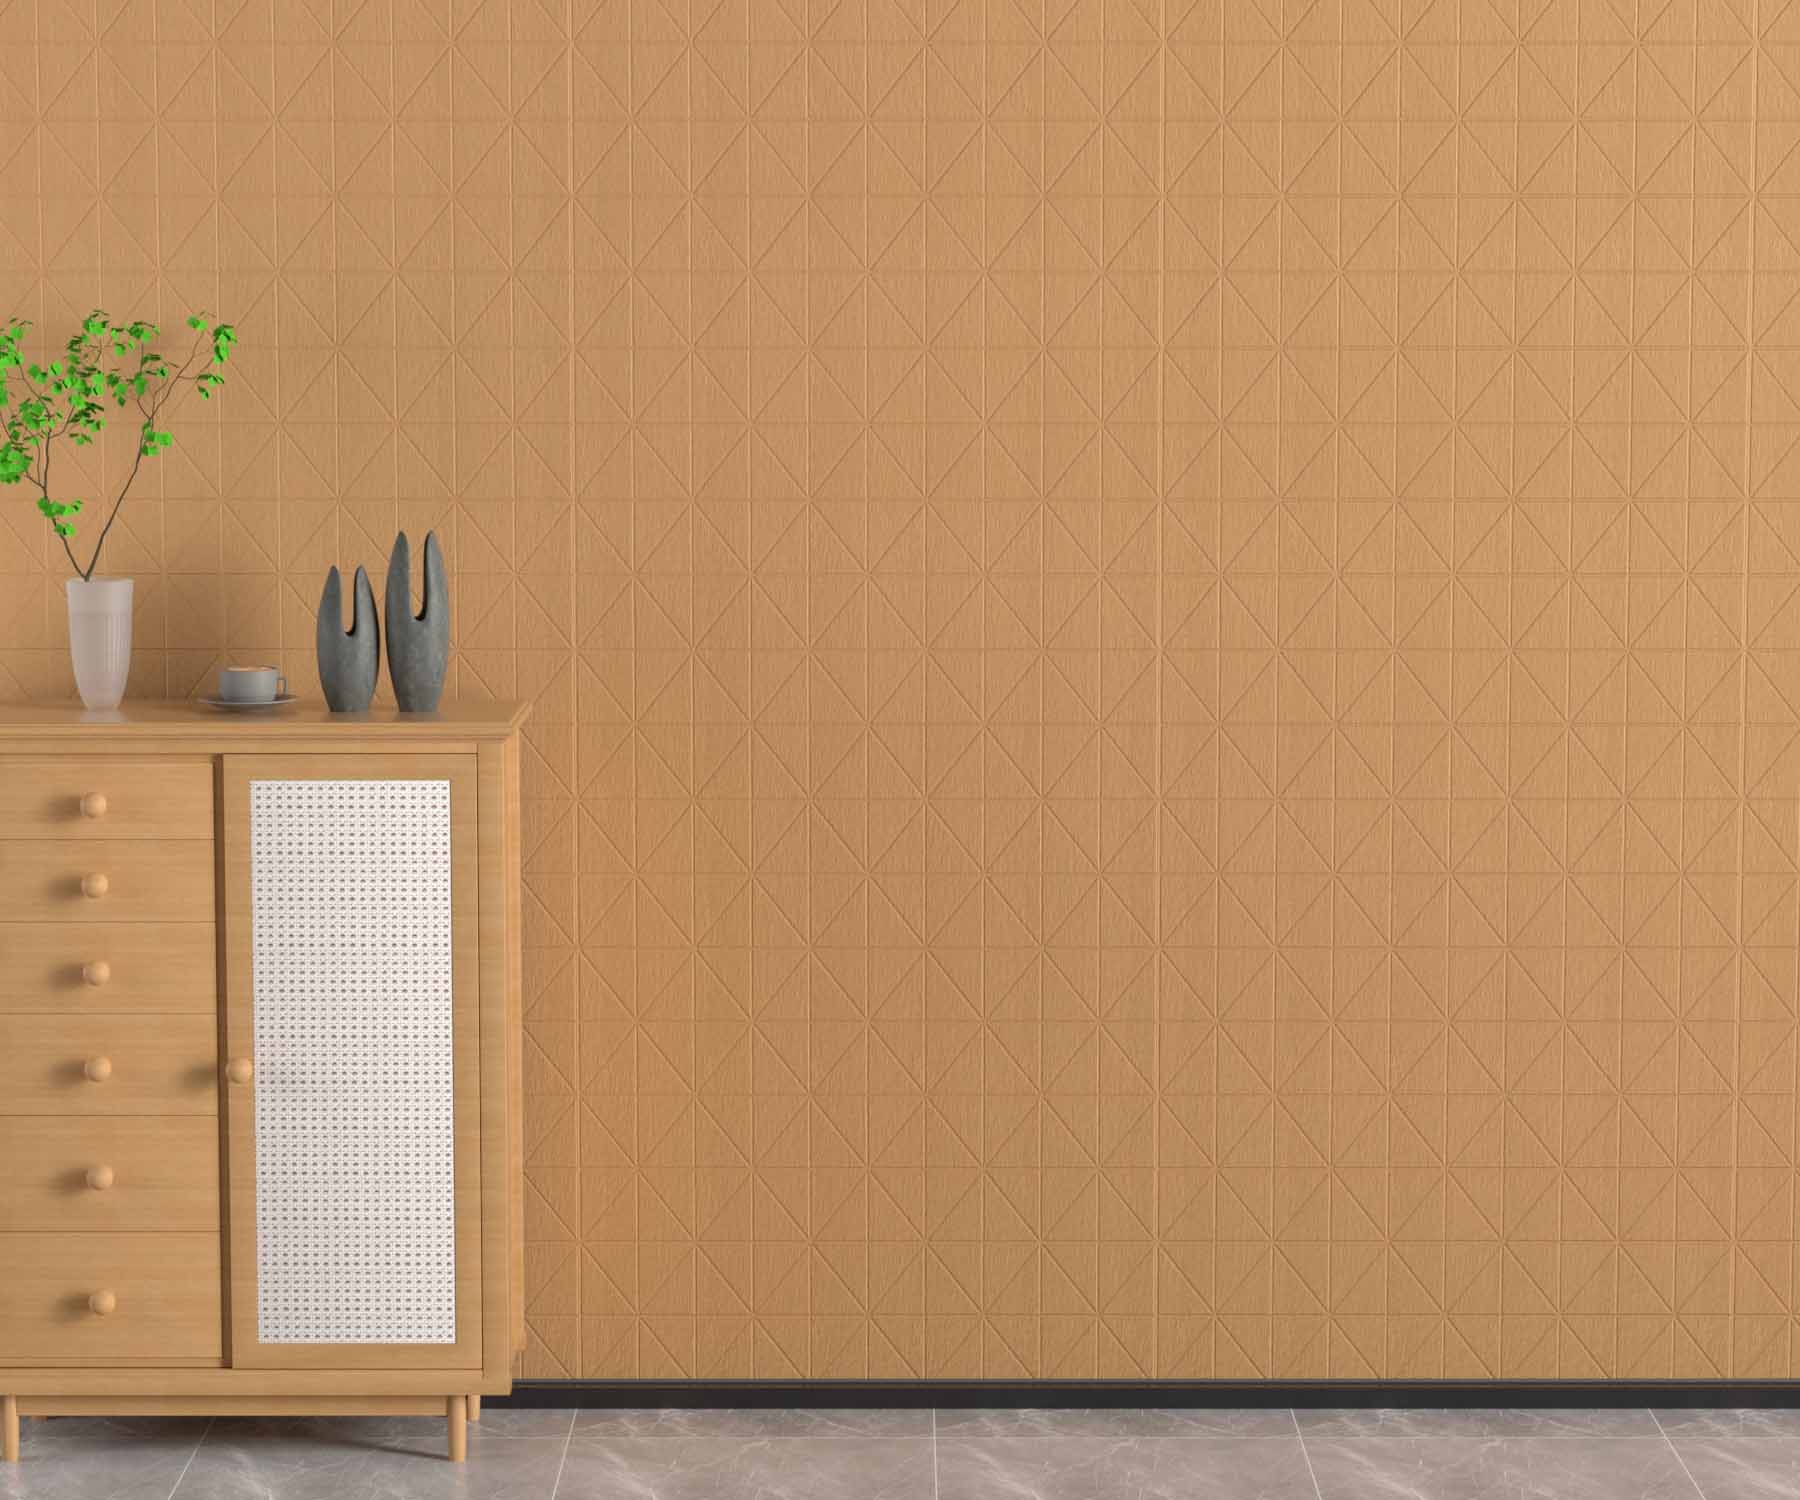
PET acoustic panels — also known as polyester fiber acoustic boards — are made from compressed recycled polyester fibers.
They’re lightweight yet dense enough to absorb sound effectively.
This unique fiber structure means PET panels:
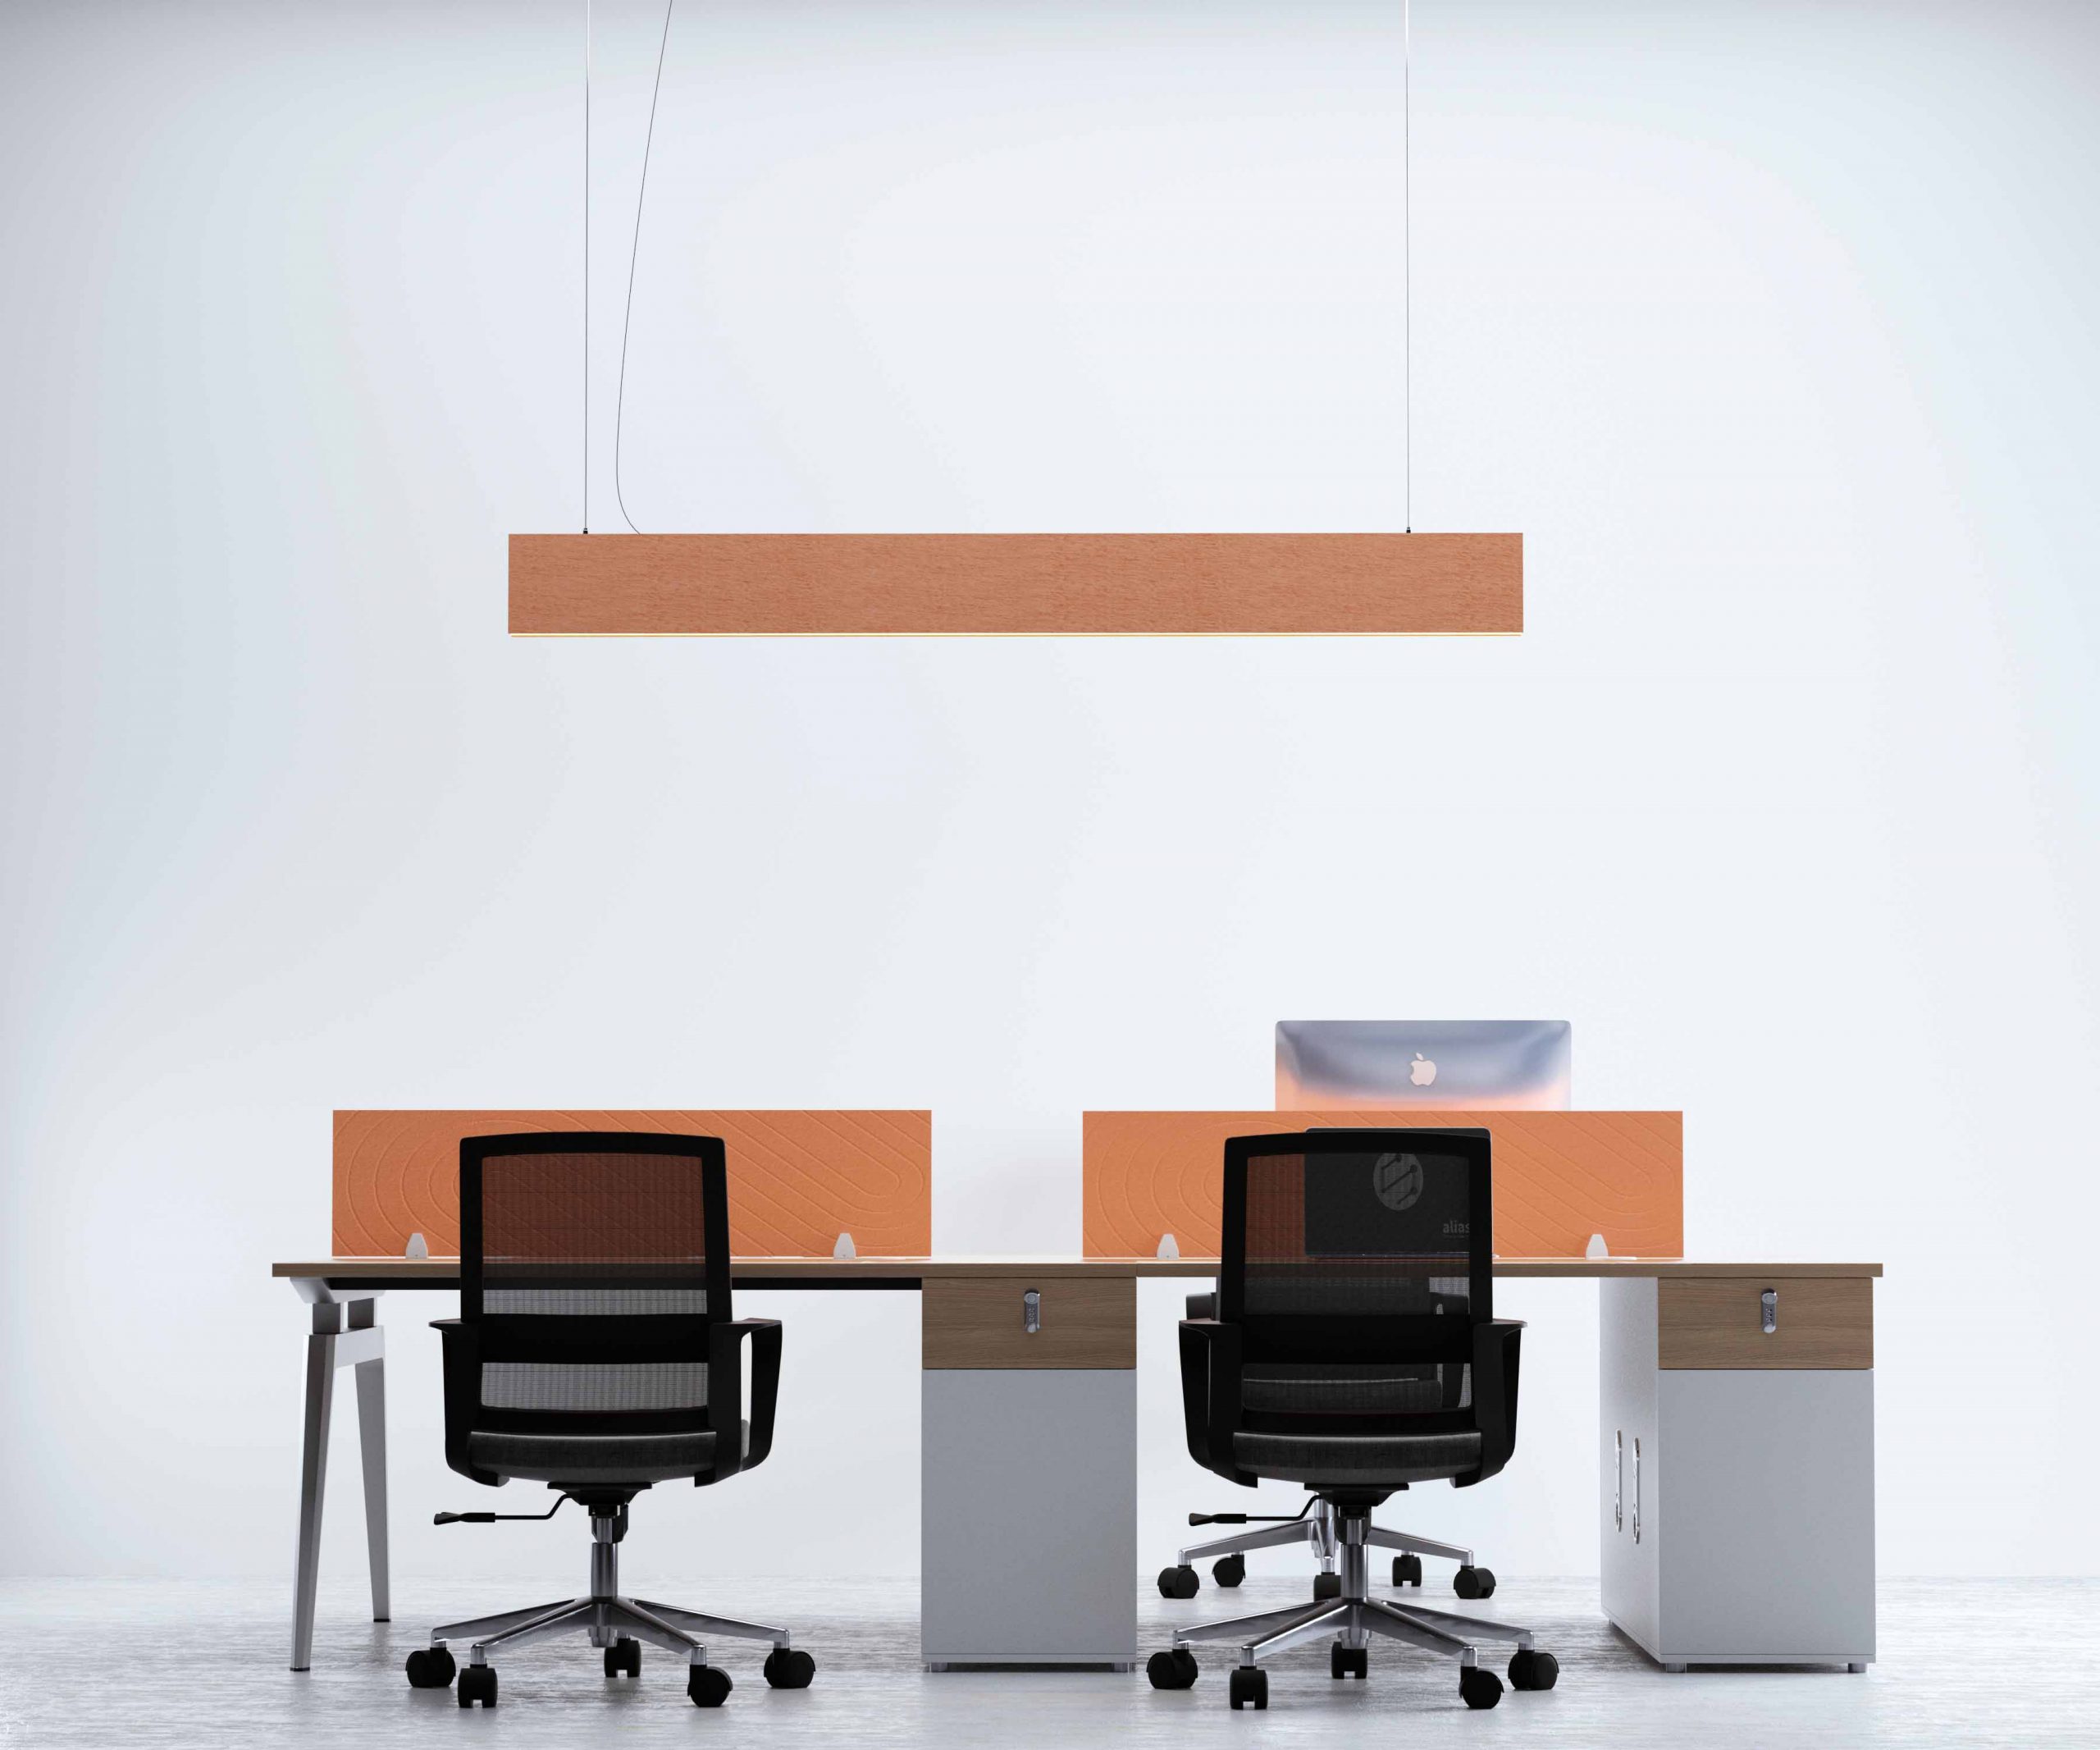
Are soft but firm, similar to dense felt
Don’t crack or chip like wood or MDF
Can be easily cut using hand tools or power tools
Because of this, they’re ideal for custom installations — including walls, ceilings, and furniture applications.
2. Tools You’ll Need to Cut PET Acoustic Panels
Depending on your project scale and precision needs, choose from the following tools:
| Tool | Best For | Tips |
|---|---|---|
| Utility knife / Box cutter | Straight cuts or small adjustments | Use a sharp blade and cut multiple times along a ruler |
| Carpenter’s knife | DIY or small projects | Ideal for 9–12mm thick panels |
| Electric cutter / Hot knife | Large installations | Produces smooth edges with less fraying |
| Jigsaw or circular saw | Complex shapes, bulk cutting | Use fine-tooth blades and cut at medium speed |
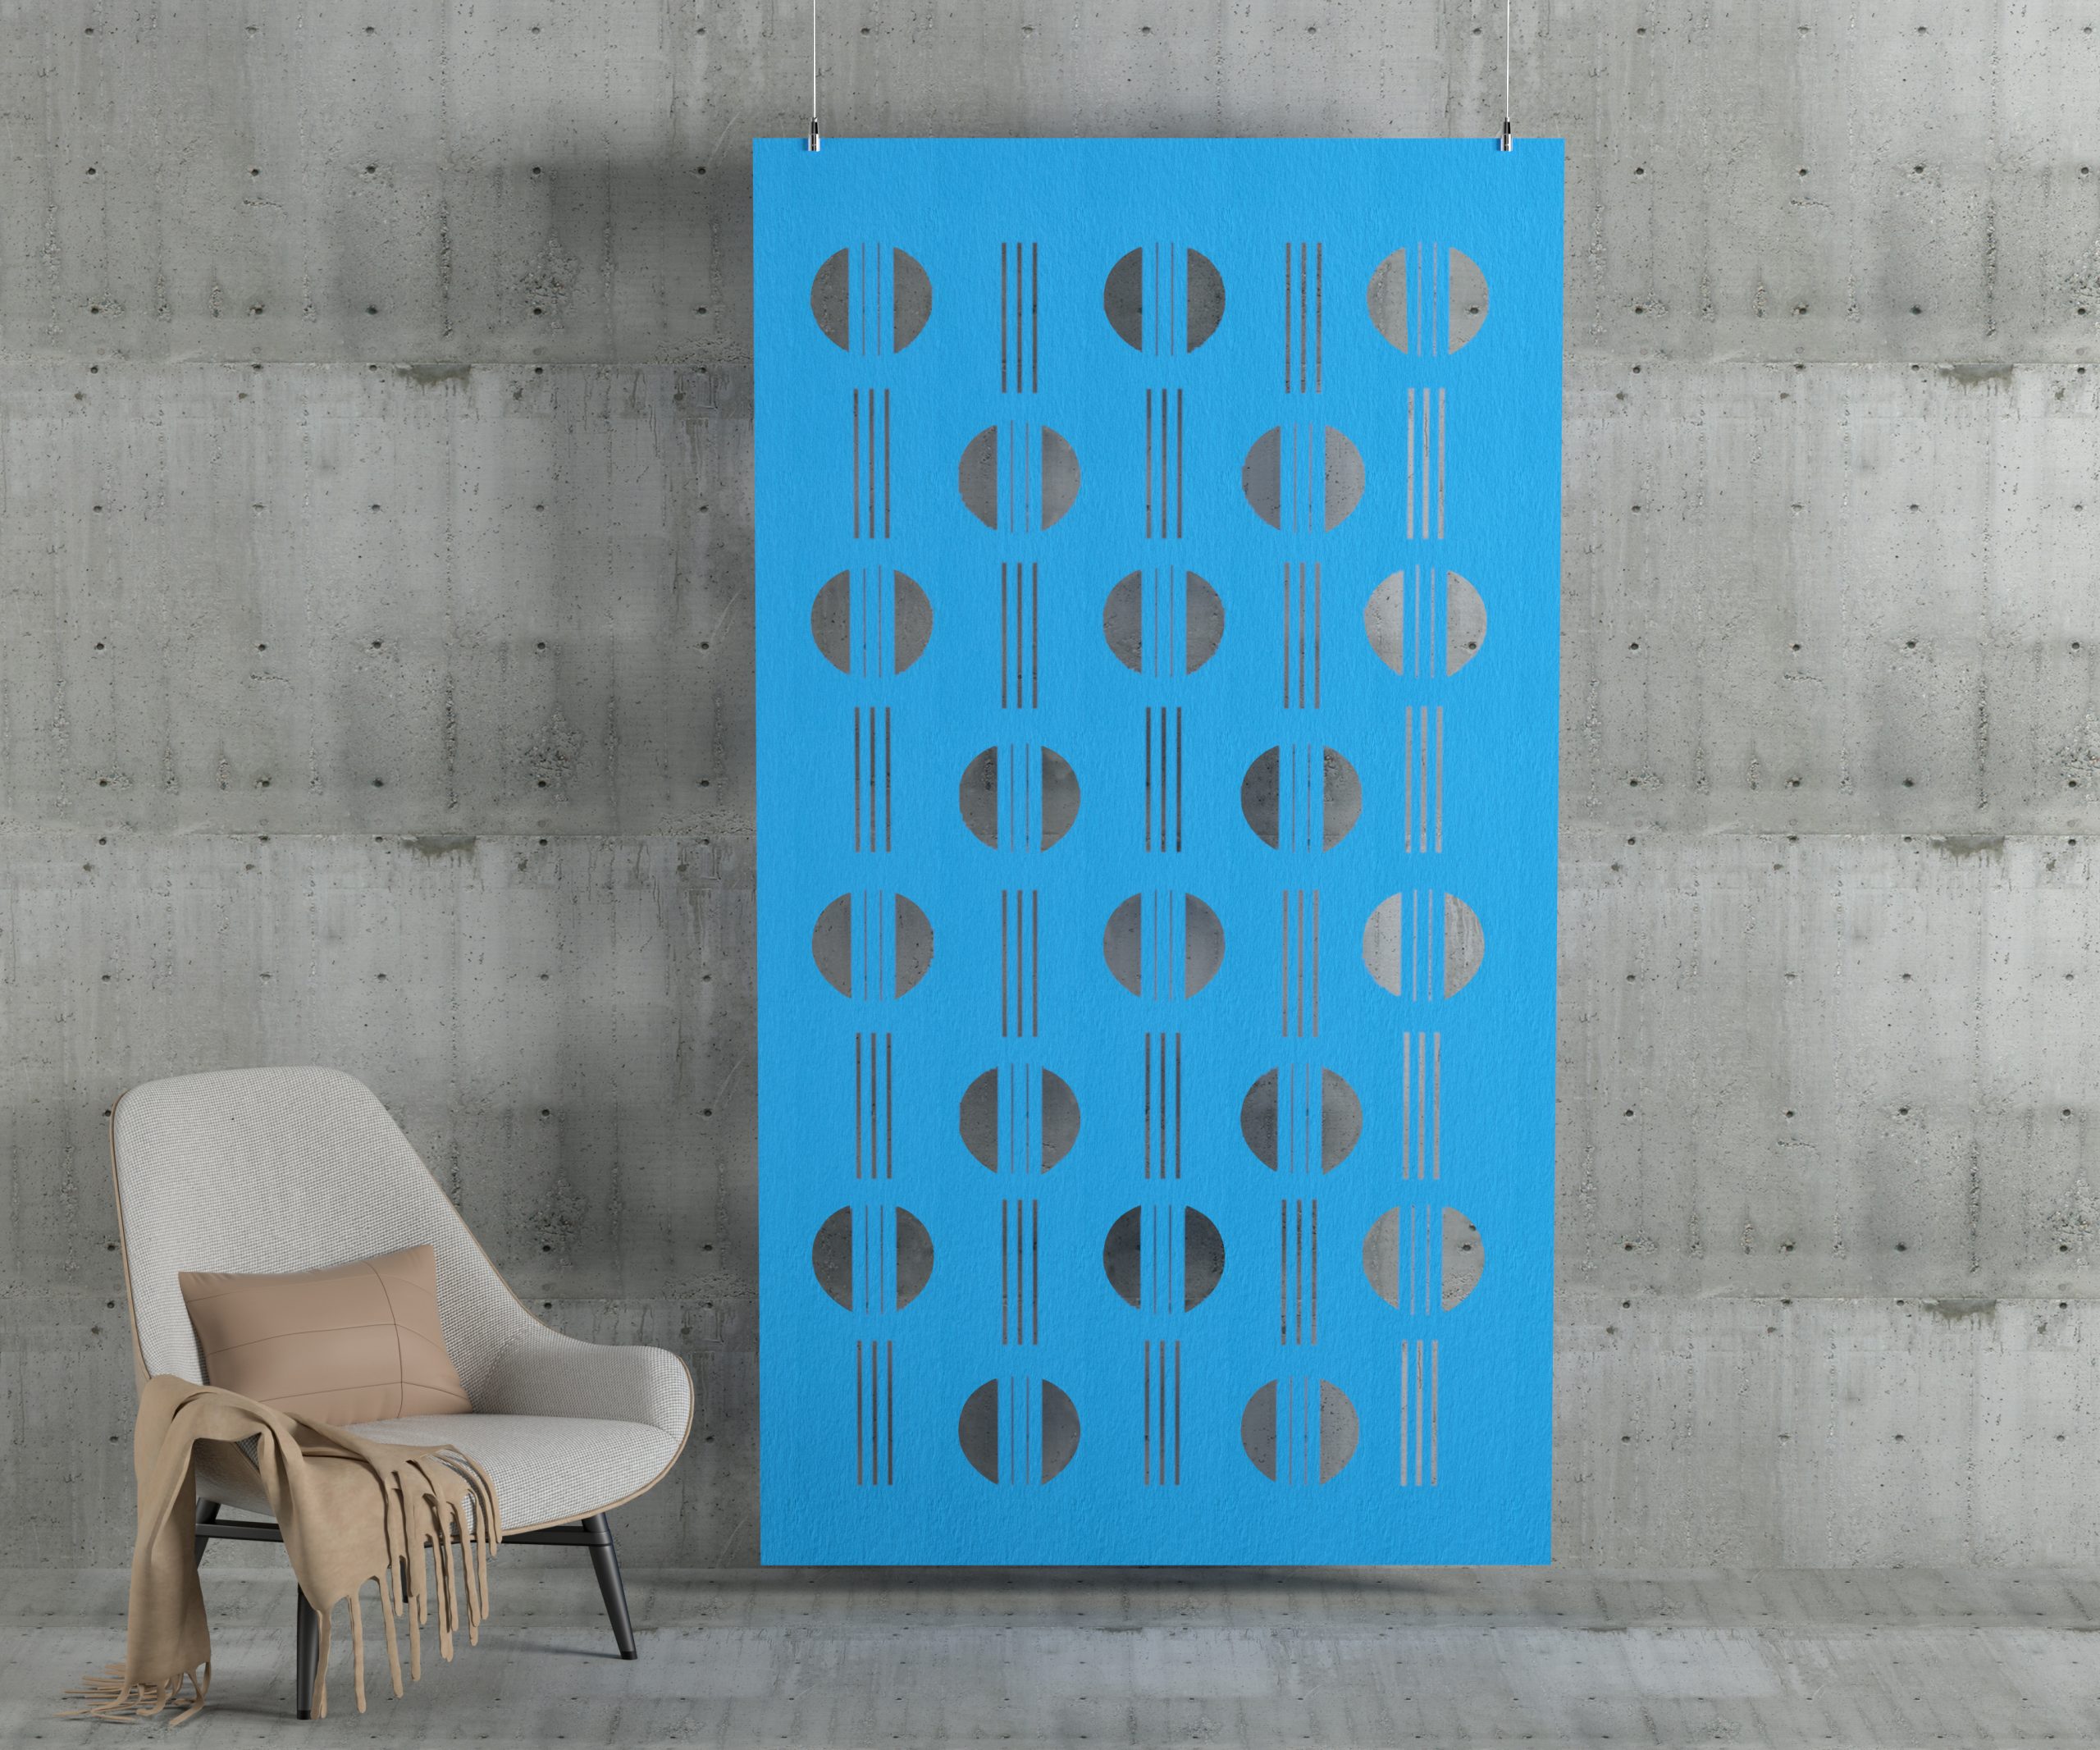
| CNC cutting machine | Custom designs or logos | For precise industrial-level cutting |
👉 Pro Tip: Always use a sharp blade — dull blades can tear the fiber edges and create fuzzy cuts.
3. How to Cut PET Acoustic Panels Step by Step
Step 1: Measure and Mark
Use a metal ruler or straightedge to mark your cutting lines.
For curved shapes, use templates or compasses to ensure accuracy.
Mark with a fine-tip marker or chalk for visibility.
Step 2: Secure the Panel
Place the panel on a flat, stable surface.
If possible, use clamps to prevent movement while cutting.
A cutting mat or plywood sheet underneath will protect your workspace.
Step 3: Make the Cut
For thin panels (≤12mm): Use a sharp utility knife. Score along the line 3–5 times until you cut through.
For thick panels (>12mm): Use a jigsaw or hot knife for cleaner results. Cut slowly and steadily.
Avoid forcing the blade — let the tool do the work to maintain edge smoothness.
Step 4: Smooth and Finish
After cutting, you can use:
Fine sandpaper (400 grit) to smooth frayed fibers.
Edge sealers (optional) if the panel edges will remain visible.
For decorative panels, you can even bevel the edge slightly for a softer, more refined look.
4. Common Mistakes to Avoid
❌ Using dull blades: Causes uneven edges and fiber pulling.
❌ Cutting too quickly: Can lead to jagged edges or overheating.
❌ Skipping measurement checks: Even a few millimeters off can create visible gaps.
❌ Ignoring direction of fibers: Some panels have slight directional textures — cut in the same direction for consistency.
5. Safety Tips
Even though PET panels are non-toxic and formaldehyde-free, always:
Wear cut-resistant gloves
Use safety goggles when using power tools
Cut in a well-ventilated area
Keeping your workspace clean helps avoid dust build-up and ensures accurate cutting.
Conclusion
Cutting PET acoustic panels cleanly is simple with the right approach.
Whether you’re a DIY enthusiast or a professional installer, precise cutting ensures better acoustic performance, seamless joints, and a more polished visual finish.
At Leedings, our high-quality PET acoustic panels are designed for easy customization and installation, making them ideal for architects, designers, and contractors worldwide.
Explore our full range of PET acoustic products and learn more installation techniques at Leedings.com.