
Introduction
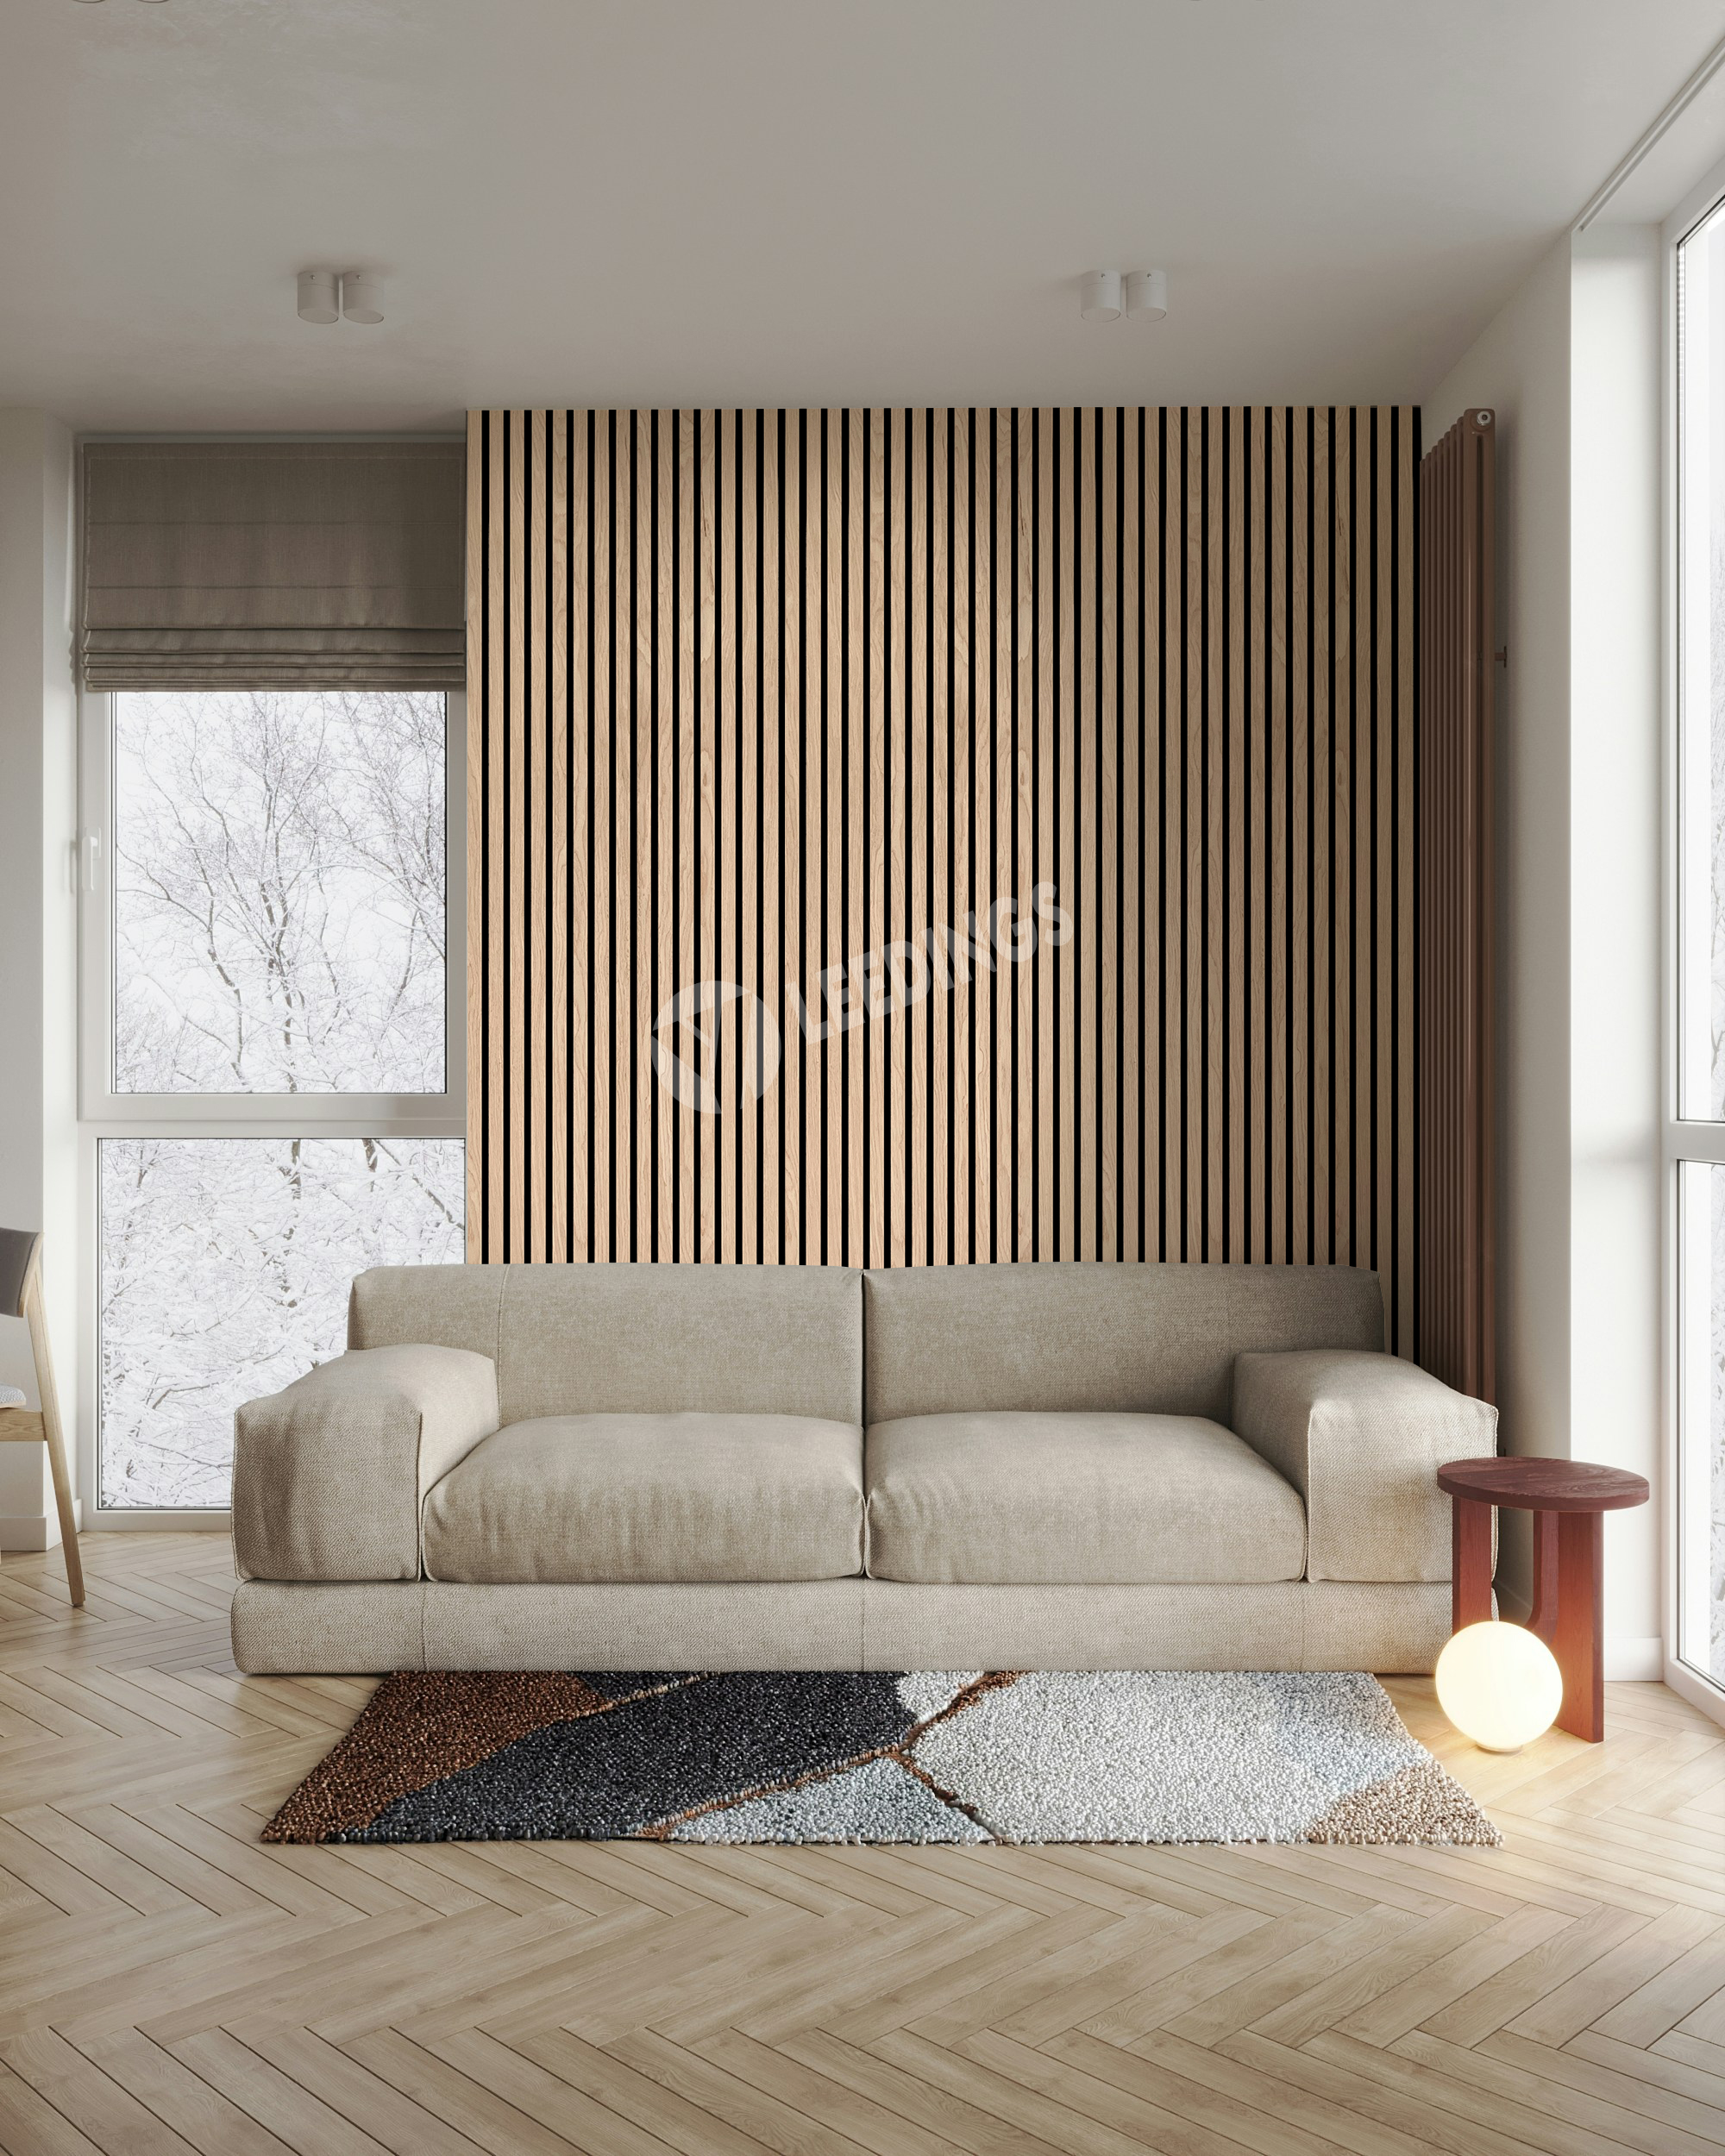
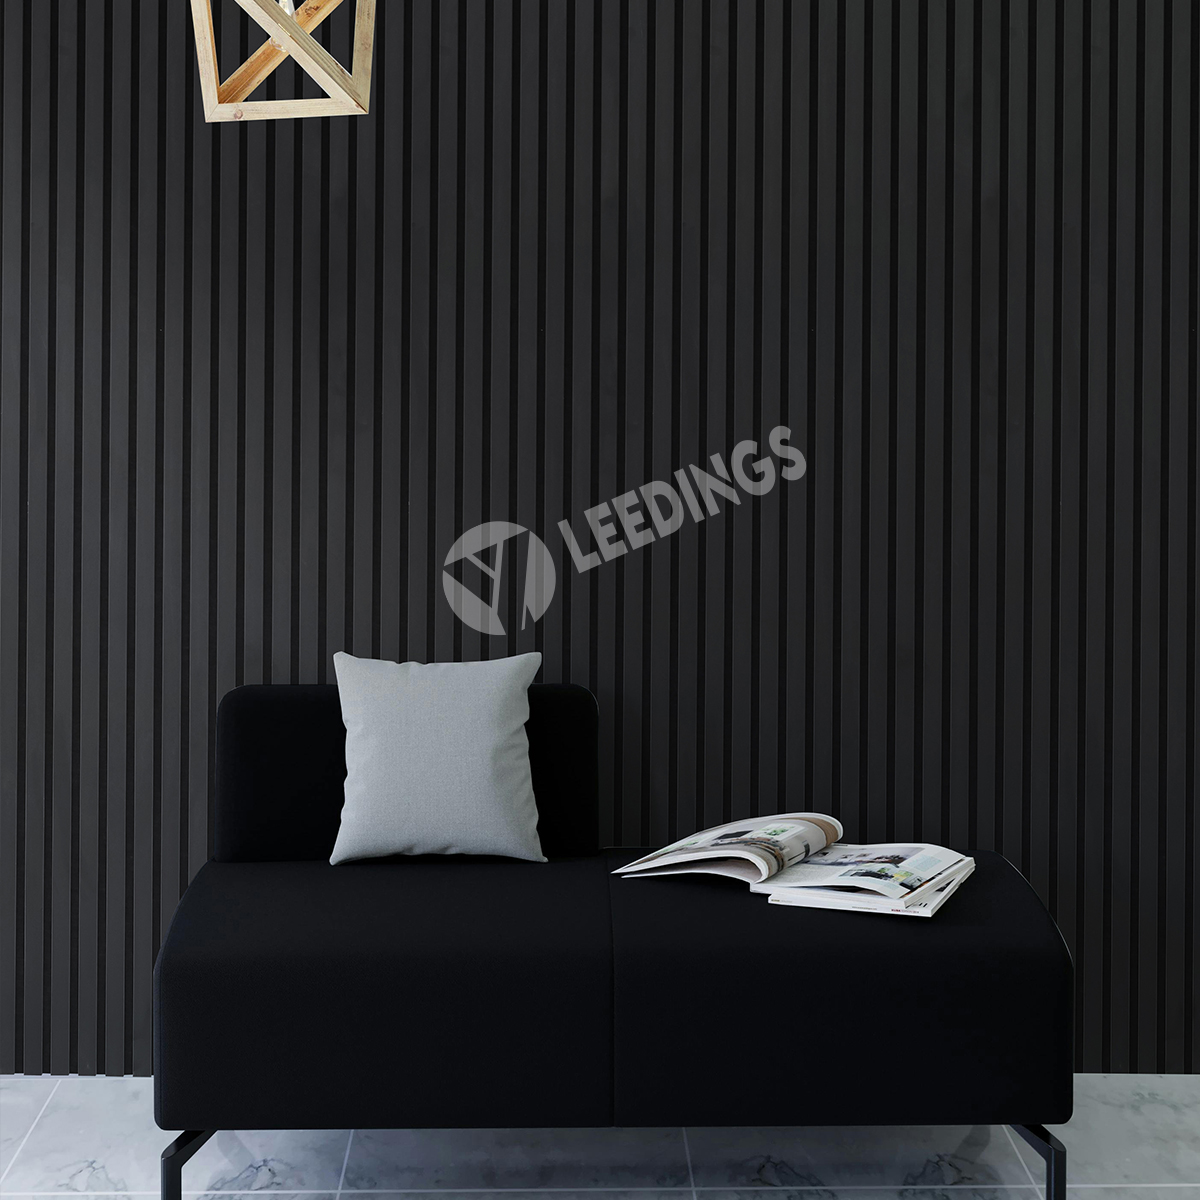
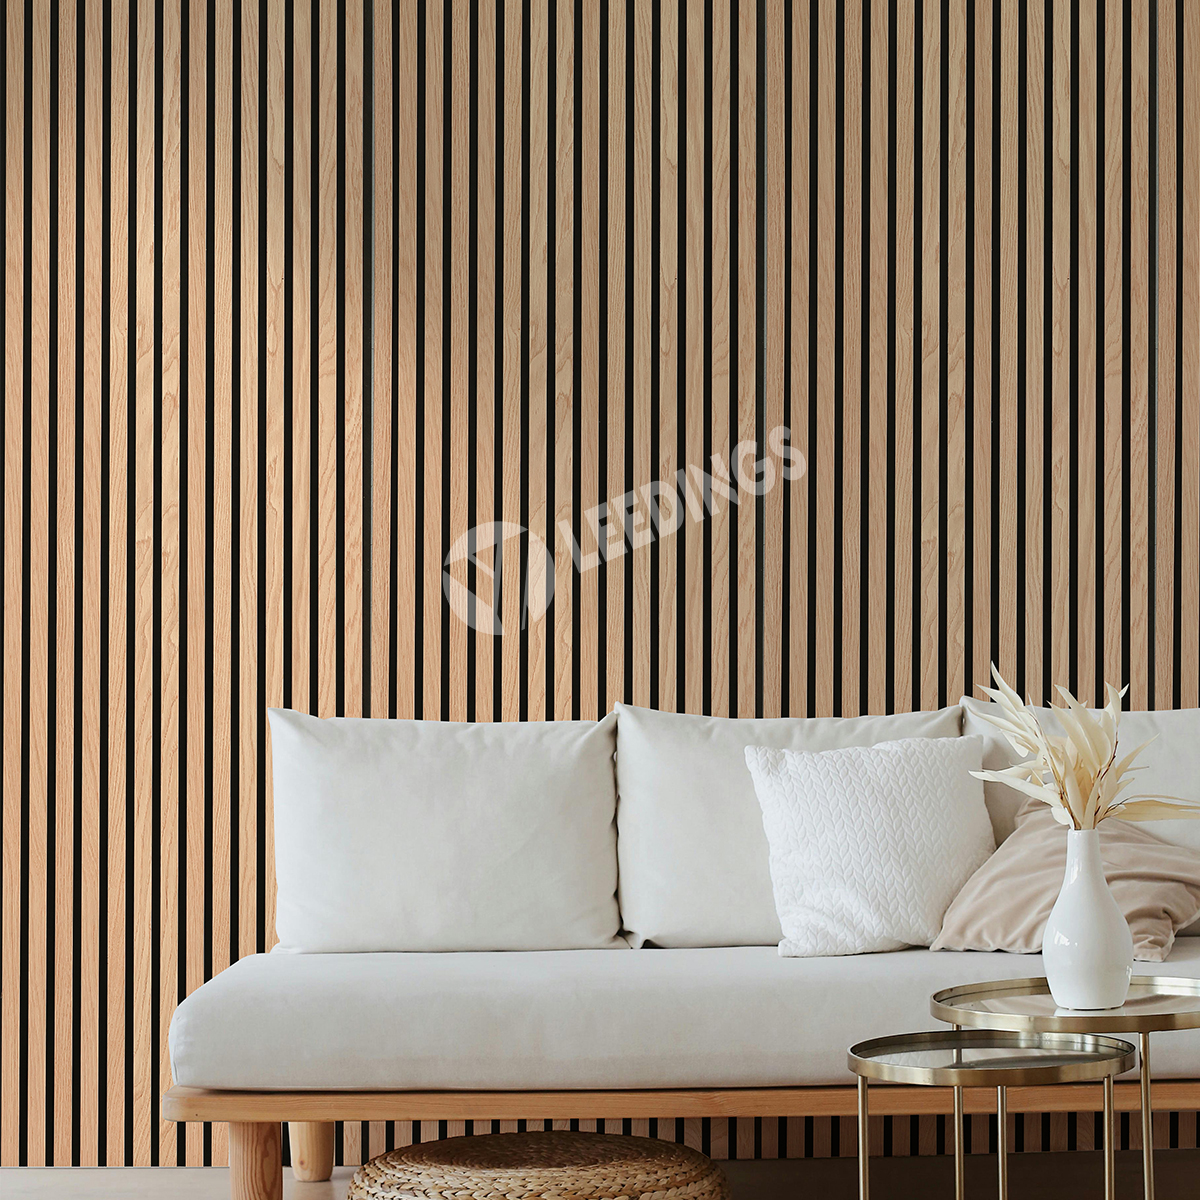
Akupanels—wood slat acoustic panels with a polyester felt backing—add modern beauty and high acoustic performance to any interior. But whether you’re installing them in a home, office, or commercial project, one question always comes up:
How do you cut Akupanels precisely without damaging the wood veneer or felt?
This guide walks you through the best tools, cutting techniques, and tips for achieving smooth edges and professional results—even if you’re not an expert installer.
1. Understanding Akupanel Structure Before Cutting
Akupanels typically consist of:
Real wood veneer on MDF slats
Acoustic PET felt backing
Pre-defined spacing between slats
Because the panel combines hard MDF and soft felt, different parts require different cutting tools.
Key Insight:
You’ll get the cleanest results by cutting the slats and the felt separately using different tools.
2. Best Tools for Cutting Akupanels
Here are the recommended tools depending on the section you’re cutting:
A. For Cutting MDF Wood Slats
Use tools designed for precise, clean wood cuts:
1. Table Saw (Best for Straight Cuts)
Produces factory-level clean edges
Perfect for horizontal or vertical trimming
Ideal for large installations
Use a fine-tooth blade (40T–60T) for smooth results.
2. Circular Saw
Great for onsite cutting
Provides straight, accurate cuts when guided with a track or ruler
Works for trimming panel length and width
Tip: Use a saw guide to prevent wobbling.
3. Jigsaw (For Curves or Cutouts)
Best when making:
Power outlet holes
Corners
Non-linear shapes
Use a fine-tooth blade for MDF to prevent chipping.
B. For Cutting PET Felt
PET felt is soft and flexible. You can cut it using:
1. Utility Knife / Box Cutter
Most precise
Clean, straight lines
Perfect for trimming after the slats are cut
Use with a metal ruler and cutting mat.
2. Heavy-duty Scissors
Good for quick trimming
Suitable for small adjustments
Not recommended for long, straight cuts.
3. Step-by-Step Guide: Cutting Akupanels the Right Way
Here’s the best workflow to ensure perfect edges:
Step 1: Measure Twice, Mark Clearly
Use:
Pencil
Tape measure
Straightedge or T-square
Mark both the slats and the felt backing.
Step 2: Cut the Wood Slats First
Place the panel wood-side up on a stable surface.
Tips for clean cuts:
✔ Use a fine-tooth saw blade
✔ Cut slowly to avoid chipping
✔ Support the slats near the cutting line
✔ Use masking tape along the cut line to minimize splintering
Step 3: Cut the Felt Backing Separately
Once the slats are trimmed:
Flip the panel over
Use a utility knife to cut through the felt along your marked line
Ensure a clean felt edge for a professional finish
Step 4: Sand the Edges (Optional)
Lightly sand the MDF edges using:
180–240 grit sandpaper
This removes tiny burrs and sharpness.
Step 5: Test Fit Before Final Installation
Place the cut panel on the wall to confirm:
Alignment
Slat spacing consistency
Felt straightness
Adjust if needed before mounting.
4. Special Cutting Scenarios
A. Cutting Panels for Corners
Cut only one slat’s width to adjust alignment.
Keep the visible edges clean and aligned.
B. Cutting Openings for Power Sockets
Use a jigsaw or oscillating multi-tool.
Process:
Trace the outlet box
Drill pilot holes
Cut slowly with a jigsaw
Clean edges with sandpaper
C. Cutting Curved Shapes
Use a jigsaw with a flexible blade.
Cut felt afterward for the cleanest finish.
5. Common Mistakes to Avoid
Avoid these frequent installation issues:
❌ Cutting with dull blades
Leads to splintering and chipping.
❌ Cutting both MDF and felt together
This results in uneven felt edges.
❌ Not supporting slats during cutting
Slats may crack or break.
❌ Rushing the cut
Smooth, slow cuts produce the best finish.
❌ Not measuring properly
Akupanels should align perfectly for a seamless visual flow.
6. Safety Tips When Cutting Akupanels
✔ Always use safety goggles
✔ Wear gloves
✔ Secure the panel before cutting
✔ Keep the work area clean
✔ Use dust extraction for MDF cutting
MDF dust is fine—use a mask for protection.
Conclusion
Cutting Akupanels does not have to be difficult. With the right tools and techniques, you can achieve:
Smooth edges
Perfect alignment
Professional installation results
Whether you’re a DIY user or a contractor, following this guide will help ensure your Akupanel project looks clean, modern, and beautifully finished.
If you need installation guidance or want high-quality Akupanels with customizable sizes, colors, and veneers, Leedings Acoustic is always happy to support your project.